Intercom
Connect Intercom to Kiflo and provide live support to your partners.
Create your Intercom account
Go to intercom and create your account.
Get your App ID (workspace ID)
Your App ID is a unique code assigned to your app when you create it in Intercom.
The easiest way to find your app ID is to check the URL of any page you have open in Intercom.
It's the code that comes after apps/ in the URL.

Enable Intercom integration on Kiflo
Now it's time to enable Intercom on Kiflo for your partners.
To do so, follow these steps:
- Go to "Manage"
- Click on "Integrations"
- Click on "Intercom"
- Click on "Add to Kiflo" to enable Intercom integration
- Paste your App ID and click "Save"

Test it!
To test if Intercom was successfully installed, sign-in as a Partner, and the Intercom icon should appear.
Now it's time to write an amazing message and send it.
Open your Intercom App and you should see a new message coming from your Partner.
The email, first name, and last name of your Partner will be visible.

Want to ensure that you’re always talking with actual partners?
To do so, follow these steps:
- Go to "Settings"
- Click on "Security"
- Click on "Enforce identity on web"
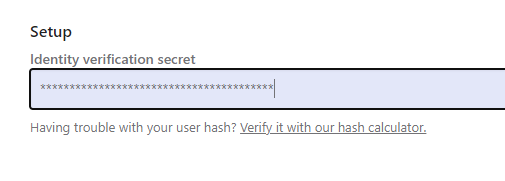
- Copy your "Identity verification secret"
- And enable "Identity verification"

Now, go on Kiflo, and follow these steps:
- Go to "Integrations"
- Click on "Intercom"
- Select the "Settings" tab
- Enable "Enforce identify verification"
- Paste your secret key (we will keep it secret)
- Click "Save"
Now Intercom ensures conversations between you and your partners are kept private, and that one person can't impersonate another.
We strongly encourage you to set up and enable identity verification.